
Blog
How to Fit Knee Brace Correctly for Pain-Free Movement
Struggling with knee pain can turn even the most scenic Paris run into a challenge. For runners balancing busy days and training along the Seine, finding the right knee brace means more than just picking any option off the shelf. With medical guidance and careful fitting, the right brace offers real support for your specific needs. In this guide, you will learn how to find and fit a knee brace that supports performance and keeps you moving comfortably.
Table of Contents
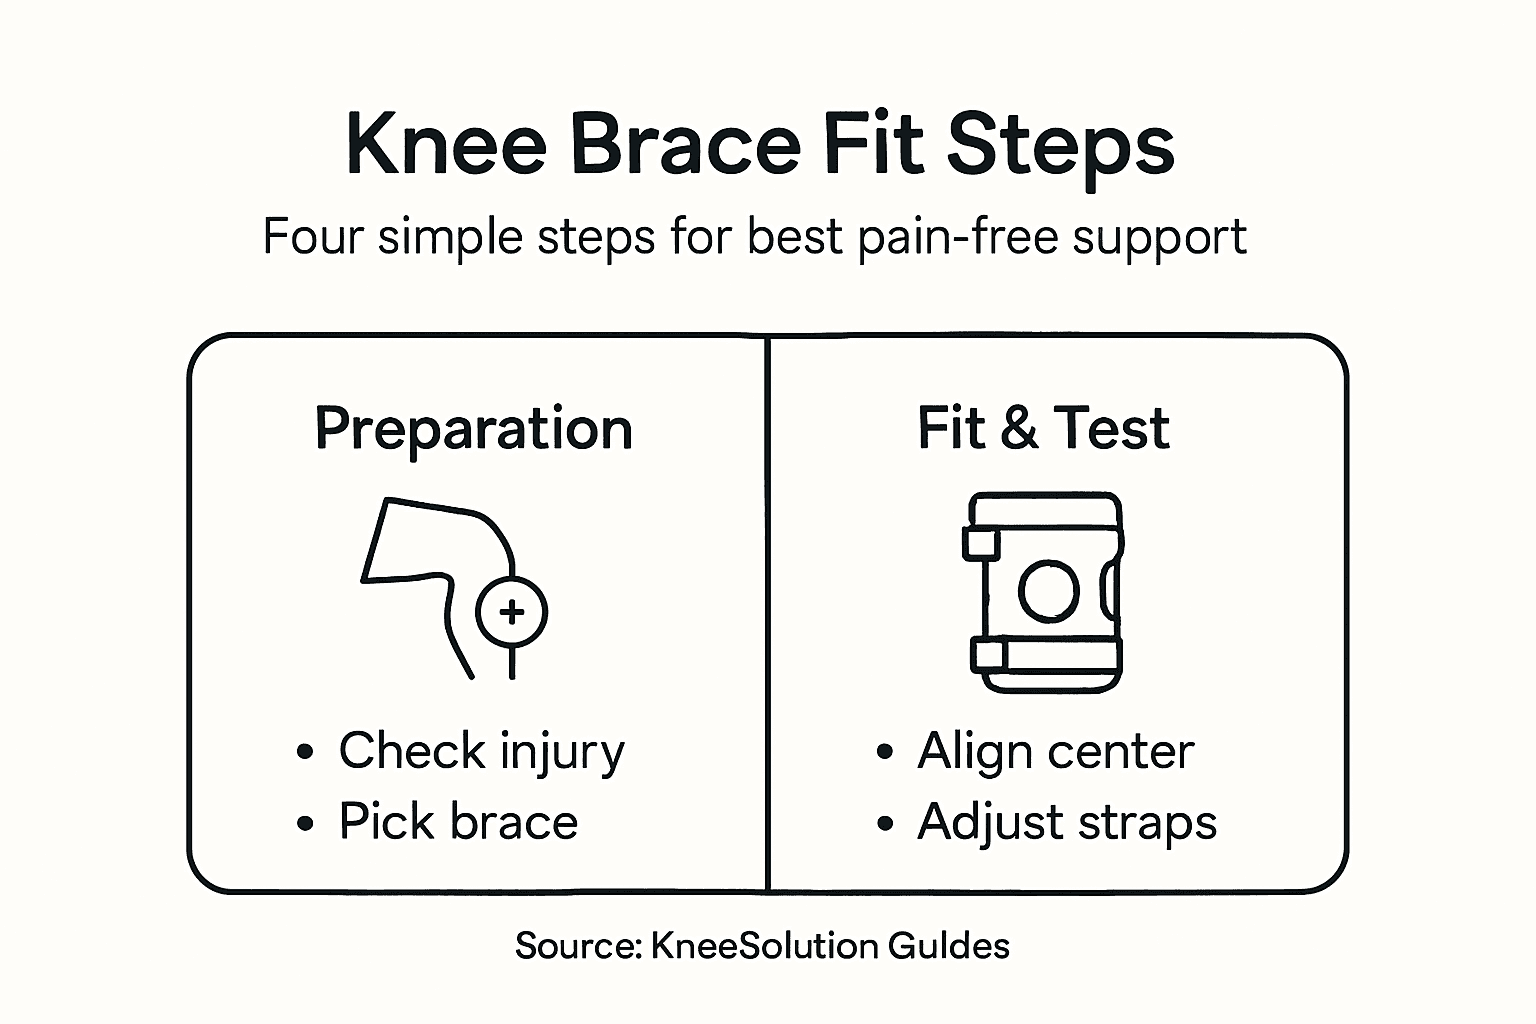
- Step 1: Prepare Your Knee and Select the Appropriate Brace
- Step 2: Position the Knee Brace for Correct Alignment
- Step 3: Adjust Straps and Check Compression Levels
- Step 4: Test Movement and Verify Secure Fit
Quick Summary
| Key Point | Explanation |
|---|---|
| 1. Identify Your Knee Issue | Precise symptom identification helps you choose the right knee brace for your condition. |
| 2. Seek Professional Diagnosis | A healthcare provider can recommend the best brace type suited for your specific knee issue. |
| 3. Position Brace Correctly | Correct alignment of the brace over your knee is crucial for effective support and relief. |
| 4. Adjust Straps for Comfort | Straps should be snug, allowing finger space, to ensure proper compression without restriction. |
| 5. Test Movement for Secure Fit | Performing movement tests ensures the brace remains centered and comfortable throughout activity. |
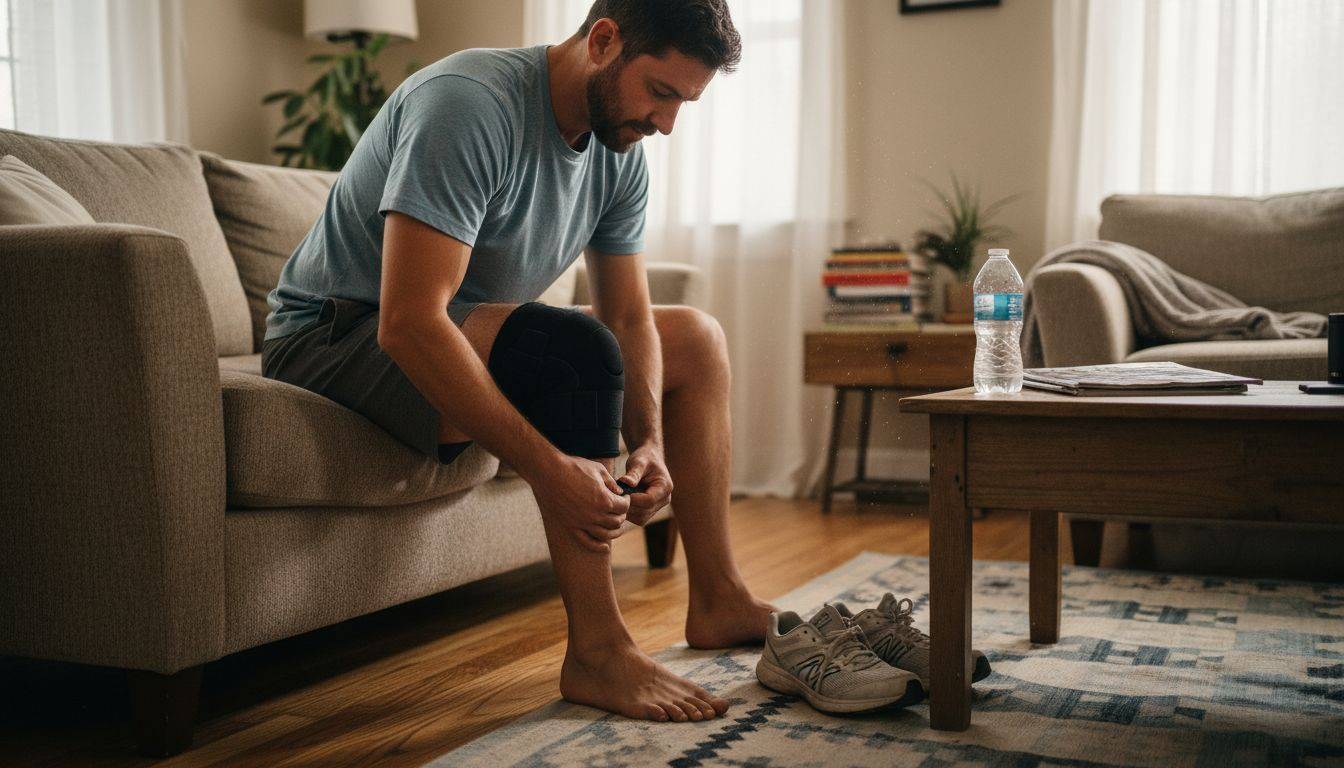
Step 1: Prepare Your Knee and Select the Appropriate Brace
Before you rush into buying a knee brace, take time to understand what’s actually happening with your knee. Getting this foundation right makes the difference between a brace that collects dust and one that genuinely supports your running routine.
Start by identifying your specific knee issue. Are you dealing with sharp patellar pain after your weekend runs? Mild swelling that appears after training? General instability during lateral movements? The more precise you are about your symptoms, the better you can match yourself with the right brace type.
Visit your doctor or a sports medicine specialist if you haven’t already. They can provide a proper diagnosis and recommend specific brace types suited to your condition. Different injuries require different support levels. For instance, unloader braces for arthritis redistribute weight away from damaged areas, while patellofemoral braces specifically stabilize your kneecap during running.
Consider your running style and intensity. A recreational runner with minor knee pain needs a different approach than someone training for a marathon or dealing with ligament issues. Your training schedule matters too. If you run most days, you’ll want a brace designed for regular athletic use.
Understand what each brace type actually does:
- Compression sleeves provide warmth and mild support, ideal for minor aches and prevention
- Patellofemoral braces target kneecap alignment, perfect for patellar pain during running
- Unloader braces reduce pressure on specific knee areas, better for arthritis sufferers
- Functional braces offer maximum stability for ligament support after injury
Think about your lifestyle beyond running. Will you wear the brace during work? While walking around Paris on your days off? Your daily activities affect which brace style works best for you.
A proper diagnosis from a healthcare provider is your first step toward finding the right brace, not guessing based on what worked for your running partner.
Evaluate your comfort and mobility priorities. Some runners prefer minimal, sleek designs that fit under compression tights. Others prioritize maximum stability even if the brace is more noticeable. Both preferences are valid, but knowing yours helps narrow your options significantly.
Check the specific features and details you should know before buying to ensure you understand sizing, material quality, and adjustment mechanisms available. Your preparation now prevents frustration later.
Here’s a quick comparison of knee brace types based on injury needs and lifestyle suitability:
| Brace Type | Best For | Support Level | Lifestyle Fit |
|---|---|---|---|
| Compression Sleeve | Minor aches and prevention | Mild | All-day, low-profile use |
| Patellofemoral Brace | Pain behind kneecap | Moderate | Running, daily wear |
| Unloader Brace | Arthritis, uneven joint stress | Strong, targeted | Arthritis management |
| Functional Brace | Ligament injury or instability | Maximum | Rehab, high-intensity use |
Pro tip: Keep a symptom journal for two weeks before shopping for a brace. Note when pain appears, what movement triggers it, and what relieves it, giving your healthcare provider concrete information for a more accurate recommendation.
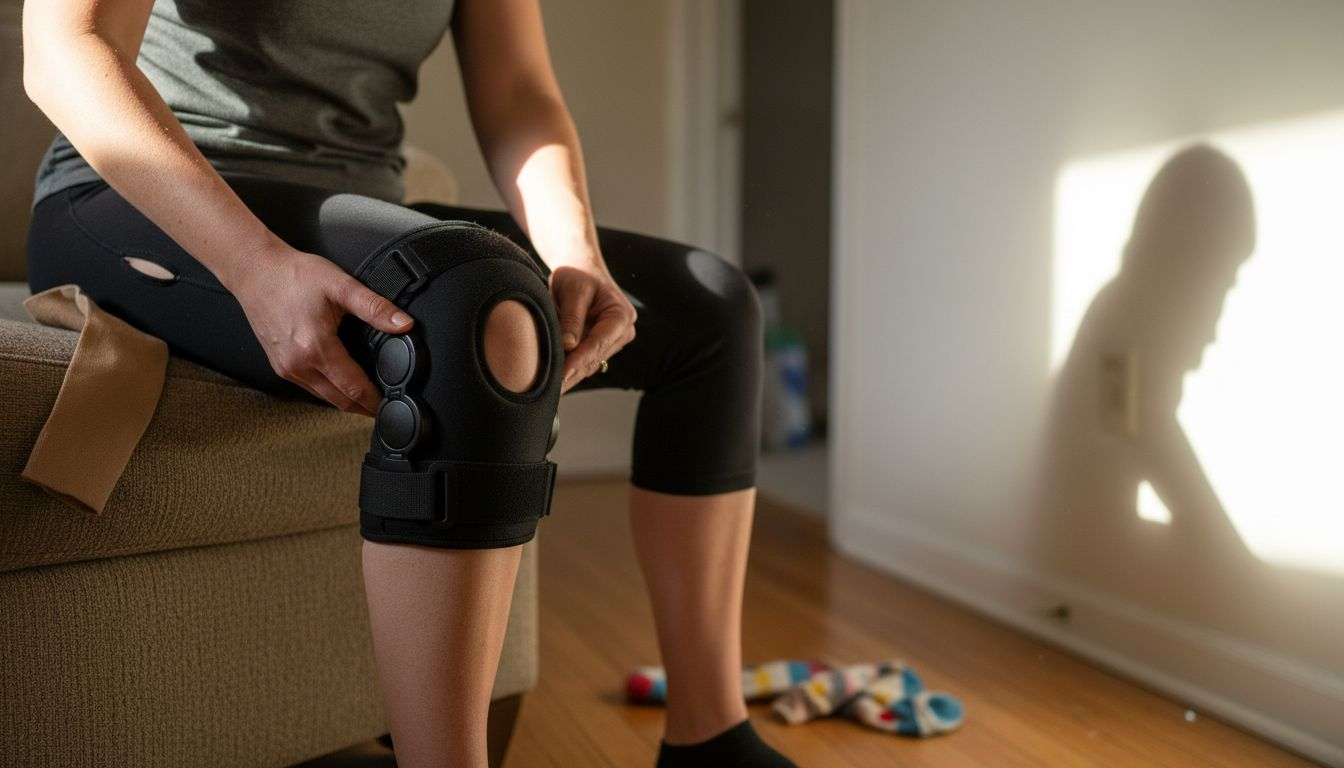
Step 2: Position the Knee Brace for Correct Alignment
Now that you have the right brace, positioning it correctly is what separates effective pain relief from wasted effort. A brace worn incorrectly won’t stabilize your knee properly, no matter how expensive or well-designed it is.
Start by sitting down in a comfortable position with your leg extended or slightly bent. This relaxed posture helps you position the brace accurately without muscle tension affecting the fit. Slide the brace onto your leg carefully, ensuring it sits centered over your knee joint.
Your knee’s center point is critical. Look for the indentation on both sides of your kneecap. The brace should align with these natural landmarks, positioning support pads directly over the knee rather than drifting toward your thigh or calf.
Check that cushions and straps wrap around your knee properly to stabilize and hold it in alignment. For functional braces with hinges, these metal supports must align precisely with your knee joint’s natural bending axis. Misaligned hinges create uneven pressure and reduce the brace’s effectiveness.
Secure all straps firmly but not too tightly. Your positioning should follow these steps:
- Wrap the lower strap around your calf first, cinching it so it’s snug but allows a finger to slip underneath
- Move to the mid-calf strap next, applying equal pressure for even support
- Finish with the thigh strap, ensuring it grips without cutting off circulation
- Do a final check that the brace doesn’t slip when you bend your knee
Test your range of motion by bending and straightening your knee several times. The brace shouldn’t move excessively or pinch sensitive areas. If it shifts more than half an inch, readjust the straps for a snugger fit.
For specific brace types, positioning varies slightly. Patellofemoral braces need their support ring positioned directly behind your kneecap to prevent it from tracking incorrectly. Unloader braces, meanwhile, require positioning that shifts weight away from the arthritic side of your knee.
Correct positioning means your brace stays centered during movement, never slipping up or down as you run or walk through Paris.
Stand up and walk around your home for a few minutes to confirm comfort. Pain, tingling, or numbness means you need to loosen the straps. Conversely, if the brace feels loose and drifts during movement, tighten them for better stabilization.
Understanding how to adjust your brace properly will help you maintain optimal alignment throughout your daily activities and training sessions.
Pro tip: Mark where each strap sits with a permanent marker on your brace after you’ve found the perfect fit, making it faster to achieve consistent positioning every time you put on your brace.
Step 3: Adjust Straps and Check Compression Levels
Strap adjustment is where most runners get it wrong. Too loose and your brace becomes a useless sleeve. Too tight and you’re cutting off circulation, causing numbness that defeats the entire purpose.
Start with the bottom strap first, working your way up. This prevents the brace from shifting while you’re securing it. Wrap the bottom strap around your calf and tighten it until you can slide one finger underneath comfortably.
That single-finger test is your golden standard. It means the strap provides support without restricting blood flow. If you can’t fit a finger, loosen it slightly. If you can fit two fingers easily, tighten it more.
Move to the next strap up and repeat the process. Each strap should feel equally snug, creating uniform compression around your knee. Uneven tightness causes the brace to shift and reduces its stabilizing effect.
For patellar tendon straps positioned directly under your kneecap, apply gentle pressure without over-tightening. This targeted compression relieves strain on the tendon while maintaining comfort during activity.
Follow these adjustment steps for optimal fit:
- Tighten the bottom strap until one finger slides underneath with mild resistance
- Check the middle strap at mid-calf with the same finger test
- Secure the thigh strap, ensuring it grips without pinching
- Test all straps together by bending your knee several times
- Readjust any strap that feels uneven or uncomfortable
Now test your compression level by performing these checks. Bend and straighten your knee slowly, paying attention to pressure sensations. The brace should feel supportive, not restrictive.
Palpate your leg below the brace. Your skin should have normal color and temperature. Coolness, discoloration, or tingling means the compression is too tight and you need to loosen the straps immediately.
Walk around for five minutes at your normal pace. Notice whether the brace stays centered or drifts. Listen to your body. Mild pressure and support feel good. Numbness, sharp pain, or a throbbing sensation means you’ve gone too tight.
Proper compression reduces swelling and provides stability but should never cause numbness, tingling, or discomfort during wear.
Adjust the straps slightly if needed after movement. Sometimes the initial tension shifts once you’re active. Your brace should feel like a supportive hug, not a tourniquet.
Check your compression levels regularly during the first week of wear. Your leg adapts to the brace, and you might need minor tweaks. After that, your straps should maintain consistent tension throughout daily training.
Pro tip: Before your next run, do a quick “strap check” by bending your knee and sliding a finger under each strap to confirm proper tension hasn’t drifted since your last wear.
This table summarizes common strap adjustment mistakes and how to correct them for optimal comfort:
| Mistake | Result | Correction Tip |
|---|---|---|
| Straps too loose | Brace shifts or slides | Tighten until finger fits snug |
| Straps too tight | Numbness, tingling, discomfort | Loosen until pressure is mild |
| Uneven strap tension | Pinching or instability | Equalize strap pressure |
| Skipping strap checks | Pressure drifts over time | Test fit before every run |
Step 4: Test Movement and Verify Secure Fit
Your brace is positioned and strapped. Now comes the real test. Movement reveals whether your brace stays secure or shifts around, and whether it actually supports your knee or restricts it uncomfortably.
Start in your living room or hallway where you have space. Stand up straight and do a simple bodyweight squat, bending your knees to about 45 degrees. Watch the brace in a mirror if possible. Does it stay centered over your knee, or does it drift upward or slide downward?
If the brace moves more than a quarter inch, stop and readjust the straps. The brace should remain locked in position throughout your range of motion. Tighten the straps slightly and test again.
Walk normally for 30 seconds. Pay attention to how the brace feels against your skin. Are there any pinch points? Does any area feel numb or tingly? Mild pressure is normal. Discomfort means something is wrong.
Testing movement by walking and bending your knee ensures the brace remains in place while allowing pain-free motion. This critical step prevents injury and maximizes the benefits your brace provides during daily activities.
Perform these movement tests in order:
- Bodyweight squats at 45 degree angle, watching for brace drift
- Walking at normal pace for one minute, noting any discomfort
- Gentle side-to-side movements, testing lateral stability
- Forward lunges if your knee allows, assessing range of motion
- Light hopping or bouncing if pain-free, confirming stability during impact
Notice how your knee feels during each test. The brace should restrict harmful movements while allowing comfortable joint motion. You should feel supported, not trapped.
If pain appears during movement, stop immediately. Adjust the straps or reposition the brace, then test again. Sometimes a small shift in position eliminates discomfort entirely.
After these initial tests, sit down and rest your leg for two minutes. Check the brace position again. Relax your leg without standing. Does the brace feel secure, or does it slip noticeably?
A secure fit means your brace stays centered during movement while allowing comfortable knee extension and bending without discomfort or restriction.
Stand up and repeat your movement tests one more time. Your leg has adapted slightly to the brace pressure, and the second round usually feels more comfortable than the first.
If everything checks out, you’re ready for light activity. Start with casual walking around your neighborhood, gradually increasing intensity over the next few days as your body adapts to the brace.
Pro tip: Perform these movement tests every morning for the first week to catch any fit issues early, allowing you to make micro-adjustments before they become uncomfortable during runs.
Find Your Perfect Knee Brace Fit for Pain-Free Movement
Struggling with knee pain or uncertainty about the right brace fit is a common challenge for runners and active individuals. This article highlights how crucial proper diagnosis, alignment, and strap adjustment are to experience effective support and prevent discomfort or injury. If you want to achieve the stability and comfort described here, exploring professional-grade knee supports designed for every need can make all the difference.
At KneeSolution, we specialize in premium Knee Pads & Braces that combine targeted compression, adjustable straps, and anatomical design to ensure your brace fits securely and moves with you. Our collection offers options from compression sleeves to high-support functional braces, tailored exactly to your symptom profile and lifestyle preferences.
Take control over your knee health today by choosing expertly crafted braces that help you avoid painful slippage, incorrect pressures, or instability during movement. Visit KneeSolution now to discover solutions trusted by athletes and everyday users alike. Don’t wait until discomfort worsens—find the best brace for your knee alignment and pain relief that fits your life perfectly.
Frequently Asked Questions
How do I know if a knee brace fits correctly?
To ensure your knee brace fits correctly, it should sit centered over your knee joint without slipping during movement. Start by performing simple tests like bodyweight squats and walking for a few minutes to confirm it stays in place and doesn’t pinch or cause discomfort.
What are the common types of knee braces and their purposes?
Knee braces include compression sleeves for mild support, patellofemoral braces for kneecap stabilization, unloader braces for arthritis, and functional braces for post-injury stability. Identify your specific knee issue and training intensity to determine which type will work best for your needs.
What should I consider when adjusting knee brace straps?
When adjusting knee brace straps, aim for a snug fit that allows a finger to slide underneath comfortably, ensuring adequate support without cutting off circulation. Check each strap independently for consistent tightness and readjust as needed to maintain optimal compression levels while moving.
How can I test if my knee brace provides adequate support?
To test if your knee brace provides adequate support, perform movement checks like squats and walking. Pay attention to any discomfort, pinching, or slippage during these movements; the brace should remain secure and supportive without restricting your range of motion.
How often should I check my knee brace fit?
It’s advisable to check your knee brace fit every morning for the first week after you start wearing it. This regular assessment helps catch any fit issues early, enabling you to make minor adjustments for optimal comfort and support during your activities.
What do I do if my knee brace feels uncomfortable during use?
If your knee brace feels uncomfortable during use, stop and reassess its positioning and strap tightness. Loosen any straps that are too tight or adjust the fit until it feels supportive but not restrictive, then test it again with gentle movements.